
t shirt wash instructions
Choose the Right Detergent
Use a mild, phosphate‑free detergent. Avoid bleach or fabric softener, which can dull colors and reduce fabric strength. Opt for a pH‑neutral formula that removes sweat and oils without stripping fibers. This ensures lasting softness and color retention. Choose detergents safe for colored fabrics and test a hidden area
Temperature Settings for Different Fabrics
Water temperature is critical for preserving the integrity of t‑shirt fabrics. For pure cotton, a warm wash (30–40 °C) effectively removes sweat while maintaining softness and preventing excessive shrinkage. Polyester and polyester‑blend garments should be washed in cool water (≤30 °C) to avoid heat‑induced distortion and to keep the fibers from becoming brittle. Rayon and other semi‑synthetic fibers perform best at a moderate temperature (20–30 °C); higher heat can cause them to lose shape. Spandex‑containing blends require a cool cycle (≤20 °C) to preserve elasticity. For high‑performance fabrics like performance polyester, a 25 °C wash preserves moisture‑wicking properties. For cotton blends with a small percentage of elastane, keep temperature below 30 °C to avoid stretching. Always consult the care label: “WASH IN COLD” means the fabric is sensitive and must stay below 20 °C. If a garment is heavily soiled, a brief warm rinse (40 °C) followed by a cool rinse can clean without harming the fibers. If you need to sanitize, a 60 °C wash can be used sparingly, but only for cotton, as it can shrink. After washing, air‑dry on a flat surface or hang; avoid the dryer for any label that says “DO NOT TUMBLE DRY” or “AIR‑DRY ONLY.” Matching the temperature to the fabric type extends the life of your t‑shirts and keeps colors true. Additionally, if you prefer a quick wash, a 20‑minute cycle at 30 °C can clean lightly soiled shirts while saving energy. For those who want to preserve a crisp look, a 15‑minute cold wash (≤20 °C) is ideal for everyday wear. Use a gentle spin speed (800–1000 rpm) for all fabrics to reduce stress. If you live in a humid area, using a cooler wash can help prevent mildew. For vintage cotton, a 20 °C wash keeps the fibers from cracking. When in doubt, err on the side of cooler water; most modern detergents are effective at low temperatures, and cooler water reduces the risk of color bleeding and fabric damage. Remember that consistent temperature control is the simplest way to maintain fabric quality over time. If you’re unsure, choose the lowest effective temperature to protect both fibers and prints.

Pre-treating Stains Effectively
Apply a small amount of a pH‑neutral, enzyme‑based stain remover directly to the affected area, following the product’s instructions. Let it sit for 5–10 minutes—this short dwell time allows enzymes to break down proteins, oils, and pigments without weakening the fabric. Apply a small amount of a pH‑neutral, enzyme‑based stain remover directly to the affected area, following the product’s instructions. Let it sit for 5–10 minutes—this short dwell time allows enzymes to break down proteins, oils, and pigments without weakening the fabric. Apply a small amount of a pH‑neutral, enzyme‑based stain remover directly to the affected area, following the product’s instructions. Let it sit for 5–10 minutes—this short dwell time allows enzymes to break down proteins, oils, and pigments without weakening the fabric. Apply a small amount of a pH‑neutral, enzyme‑based stain remover directly to the affected area, following the product’s instructions. Let it sit for 5–10 minutes—this short dwell time allows enzymes to break down proteins, oils, and pigments without weakening the fabric. Apply a small amount of a pH‑neutral, enzyme‑based stain remover directly to the affected area, following the product’s instructions. Let it sit for 5–10 minutes—this short dwell time allows enzymes to break down proteins, oils, and pigments without weakening the fabric. After pre‑treatment, rinse the area with cool water, gently pat dry, and then place the garment in a gentle wash cycle with a mild detergent, using cold or lukewarm water to preserve color and prevent shrinkage. and keep the fit.daily.
Washing Graphic Tees Without Damaging Prints
When caring for graphic tees, the first rule is to keep heat at bay. High temperatures can cause screen‑printed designs to crack, fade, or peel. Always set your washing machine to the coolest cycle available—ideally 30°C (86°F) or lower. This gentle setting preserves both the fabric and the integrity of the artwork.
Use only cool or lukewarm water. Hot water can loosen the ink’s adhesive, making the print lift or blur. If you must use warm water, keep the temperature under 40°C (104°F) and limit the wash time to avoid excess heat exposure.
Before starting, turn the tee inside out. This protects the front graphic from friction against other garments and the drum. Avoid placing heavy items, such as jeans or towels, in the same load, as they can rub against the print and cause damage.
Place the tee in a mesh laundry bag. The bag shields the design from direct contact with other fabrics and allows water to circulate evenly. It also prevents the garment from being twisted or stretched during agitation.
After the wash, skip the dryer. Lay the tee flat on a clean towel or drying rack to keep the print from stretching or warping. If a dryer is unavoidable, use the lowest heat and remove the garment quickly, carefully now, to limit shrinkage.
When damp, reshape the tee gently to its original shape. Avoid wringing or twisting, which can distort the print. Let it air dry fully before storing or wearing again.
Always follow the care label for any specific instructions. Some manufacturers recommend hand washing or special solutions that are safer for delicate prints. Adhering to the label keeps your graphic tees fresh.
Remember that the best “t shirt wash instructions” for graphic tees combine cool water, gentle handling, and flat drying. By following these steps, you can keep your favorite prints vibrant and your shirts looking fresh for longer.
Using Mesh Bags for Delicate Designs
When washing shirts with intricate prints, embroidery, or hand‑painted artwork, a mesh laundry bag acts as a protective barrier that keeps the garment suspended and reduces friction against the drum. Place each tee inside a clean, breathable mesh sack before adding it to the wash cycle. The bag allows water and detergent to circulate while preventing snagging or distortion of the design.
Choose a bag with a secure zipper or drawstring closure to avoid accidental escape. For high‑value pieces, consider a double‑layered bag or a dedicated garment‑care pouch. When using a standard washing machine, set the cycle to gentle or delicate and keep the load balanced; this further minimizes stress on the fabric. After washing, remove the shirt promptly and lay it flat on a towel or hang it on a padded hanger to preserve the print’s shape.
Mesh bags are not a substitute for proper detergent selection or temperature control. They work best in conjunction with a mild, pH‑neutral detergent and cool water settings. By combining these practices, you extend the life of your custom designs and keep them looking fresh through many washes.
- Use a mesh bag for every delicate tee, even if the design is subtle.
- Check for loose threads before placing the garment in the bag.
- Do not overload the bag; leave room for water to flow.
- After washing, rinse the bag to remove detergent residue.
- Store the bagged shirt flat or on a hanger to maintain shape.
Some modern machines offer a dedicated garment‑care cycle that further protects prints. If available, use this setting with your mesh bag for optimal results. Consistently following these steps ensures that your delicate designs remain vibrant, intact, and ready for wear for years to come.

Separating Colors to Prevent Bleeding
When washing t‑shirts, separating colors is essential to keep each garment vibrant and free from unwanted dye transfer. Begin by sorting your laundry into three distinct piles: whites, darks, and bright colors. Whites should be washed separately to avoid any color contamination, especially if you have new or heavily dyed shirts that may bleed. Darks—such as black, navy, and charcoal—should be grouped together, while bright or pastel colors form the third group. This simple segregation reduces the risk of dye migration that can cause spots or a dull appearance.
To further protect your shirts, use a cold‑water cycle for the bright and dark piles. Cold water is less aggressive on dyes, helping to lock in the color. Add a color‑safe detergent that contains enzymes to break down stains without compromising pigment integrity. If you’re unsure whether a shirt might bleed, perform a quick test: dampen a hidden corner with water, press a white cloth against it, and observe for any color transfer. If the cloth stays clean, the shirt is safe to wash with its color group.
For garments with delicate prints or graphics, place them in a mesh laundry bag before adding them to the wash. The bag prevents friction and protects the print from rubbing against other fabrics. After washing, immediately remove the shirts from the machine and lay them flat to dry—this helps maintain shape and prevents shrinkage that can exacerbate color distortion.
Always read the garment’s care label before washing. If it recommends a gentle cycle or hand wash, follow it closely to keep colors bright.!!

Proper Drying Methods to Avoid Shrinkage
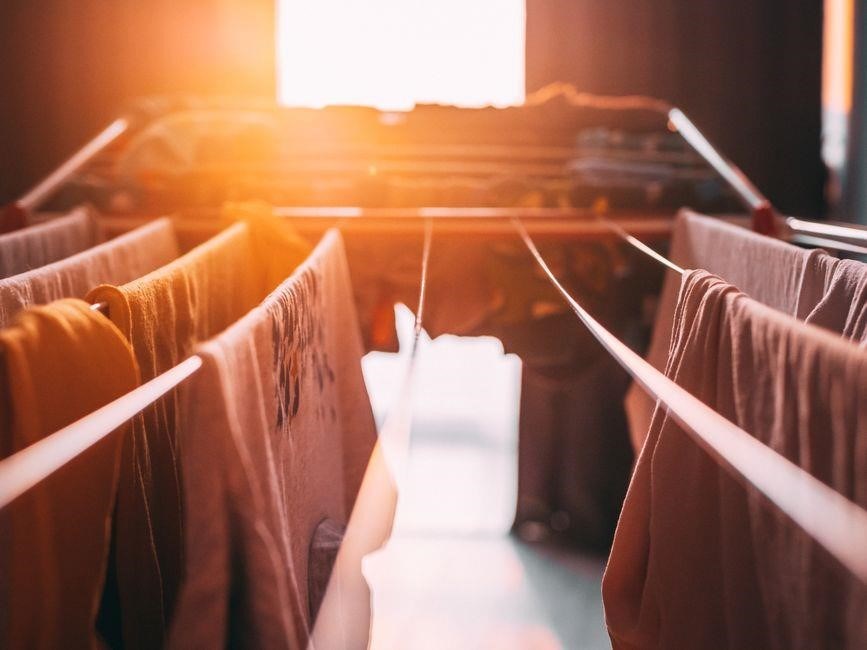
After washing, drying is the most critical step to prevent shrinkage. High heat is the main culprit, especially for cotton and blends. The safest approach is air‑drying: lay the shirt flat on a clean towel or hang it on a padded hanger, ensuring the shoulders are level to keep shape. Avoid folding the shirt while wet, as this can create creases that tighten over time. If you prefer a dryer, select the lowest heat setting or the “air‑only” cycle, and remove the garment promptly once the cycle ends to prevent prolonged heat exposure. For delicate or printed tees, place them in a mesh bag before drying to protect prints from friction. Rotating the shirt halfway through the drying process helps distribute heat evenly, reducing uneven shrinkage.
Key practices to keep your tees in shape:
- Use a low‑heat or no‑heat setting on the dryer to minimize fiber contraction and avoid overdrying which can cause fading.
- Never overload the dryer; give each garment space to tumble freely, preventing uneven drying and maintain airflow around every piece.
- Remove shirts promptly when the cycle ends to avoid heat buildup that can shrink fibers over time and preserve original dimensions.
- For printed or embroidered designs, turn the shirt inside out before drying to protect the surface from abrasion and keep prints vivid.
- Check for shrinkage after the first wash and adjust settings accordingly to create a custom drying routine and prevent future issues.
By following these drying guidelines, you preserve the fit, color, and comfort of your t‑shirts, ensuring they stay fresh and true to shape for countless wears. Enjoy!!!!
Air Drying vs Dryer: Pros and Cons
Air drying and using a dryer are the two most common methods for removing moisture from freshly washed t‑shirts. Each has distinct advantages and disadvantages that affect fabric longevity, color retention, and energy consumption.
- Air drying – Pros: No heat exposure, preventing shrinkage and preserving the integrity of screen‑printed graphics. It is energy‑efficient and reduces utility bills. Cons: Longer drying times, especially in humid climates, and the risk of mildew if shirts are left damp for too long.
- Dryer – Pros: Rapid drying, convenient for busy schedules, and the ability to tumble-dry multiple garments at once. Cons: Heat can cause shrinkage, fade prints, and weaken fibers. The mechanical action can also create pilling and stress on seams.
For graphic tees, the consensus among experts is to air‑dry whenever possible. If a dryer is used, select a low‑heat or “air‑only” cycle, and remove shirts promptly to avoid over‑drying. Always place shirts inside a mesh bag to protect delicate prints from friction. When air‑drying, hang shirts on a line or a padded hanger to maintain shape and reduce creases.
In addition, consider the environmental impact of each drying method. Dryers consume electricity and emit heat, while air‑drying requires outdoor space and may be slower. For eco‑friendly care, combine a low‑heat dryer cycle with a brief tumble, then finish by hanging. This hybrid approach balances speed, fabric care, and sustainability. Set a timer to avoid over‑drying and save power!!. and relax.
Frequency of Washing: When to Wear Multiple Times
Deciding how often to wash a t‑shirt depends on usage, sweat, and exposure. For everyday wear, a single wash after each use is ideal to keep the fabric fresh and prevent odor buildup. However, if the shirt is only lightly soiled—no visible stains or sweat marks—it can be worn 2–3 times before washing. This approach reduces wear on fibers and extends garment life.
- Lightly soiled: 2–3 wears, then wash.
- Visible stains or odor: wash after each use.
- Outdoor or high‑intensity activity: wash after every use.
- Indoor casual wear: 3–4 wears if no odor or stains.
Before re‑wearing, inspect the shirt for hidden stains, especially around the collar and cuffs. A quick spot‑clean with a mild detergent can refresh the garment without a full wash. Additionally, rotate t‑shirts in a wardrobe to allow each piece to air out for 24–48 hours, reducing moisture and mildew risk. This cycle keeps fabrics breathable and maintains shape, ensuring each shirt remains comfortable and looks new for longer.
To further extend the life of your t‑shirts, consider a dedicated laundry routine. After each wash, hang the garment on a padded hanger or lay it flat to dry, avoiding direct sunlight that can fade colors. Once dry, fold the shirt carefully, placing it in a breathable storage bag or a drawer lined with cotton to prevent dust accumulation. When you plan to wear a shirt again, give it a quick shake and a light spot‑wipe with a damp cloth to remove surface dirt. This simple step reduces the need for a full wash and keeps the fabric supple. Also, avoid overloading the washing machine, to prevent abrasions. Finally, keep a small, dedicated basket for freshly laundered shirts so they can rest before being worn again, allowing any residual moisture to evaporate and preventing mildew growth.
Releasing New Custom Designs Before Washing
When you receive a freshly printed custom tee, the ink or dye is still wet and vulnerable. t shirt wash instructions To lock in the design and prevent bleeding, give it a full 24‑hour cure before the first wash. During this period, hang the garment flat on a clean rack or lay it on a towel—avoid folding by the sleeves, which can distort the print. Once the curing time is complete, separate the shirt from other colors to avoid cross‑staining. Place the tee in a mesh laundry bag; this protects the artwork from abrasion and keeps the fabric from rubbing against rough surfaces. Use a gentle, pH‑neutral detergent and cool water to preserve the vibrancy; Finally, air‑dry the shirt flat or on a low‑heat rack—never toss it into a dryer, as heat can cause the ink to crack or fade. Following these steps ensures your custom design stays sharp and your shirt retains its original comfort and fit for years to come.
After the 24‑hour cure, it is wise to give the garment a brief rest before washing. Store the tee flat on a clean rack or in a breathable garment bag; avoid hanging by the sleeves or placing it on a rough surface that could snag the print. When you finally wash, use a gentle cycle with a mild detergent, and keep the load small to reduce friction. If your design includes inks, wash in cool water to preserve their luminosity. Finally, after washing, lay the shirt flat on a towel or drying rack to air‑dry; this prevents heat‑induced shrinkage and keeps the print crisp. By following these steps, you protect the integrity of the artwork while maintaining the shirt’s fit and softness for many wears;!!!
Storing T-Shirts to Maintain Shape
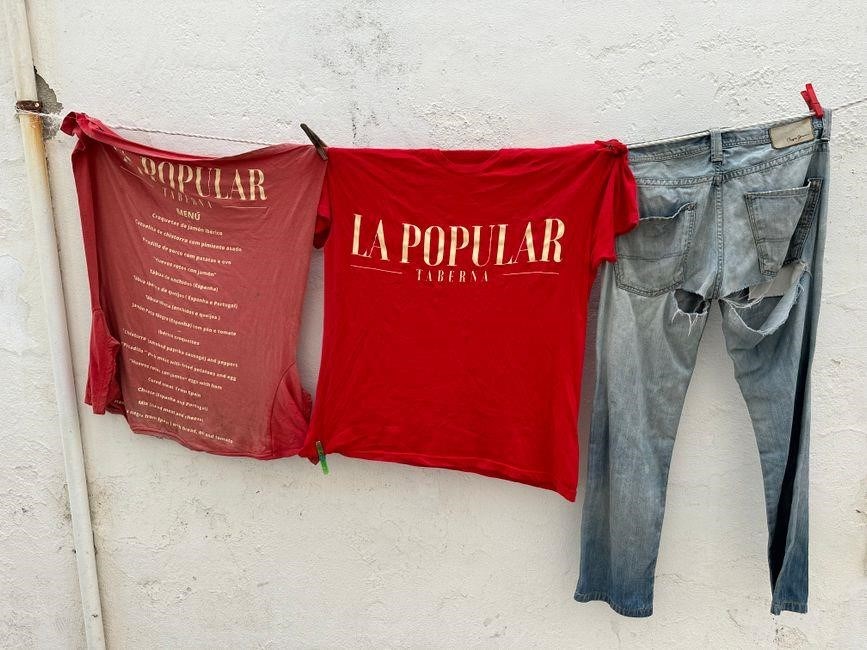
After washing, hang each tee on a padded hanger or lay flat on a clean rack. Avoid folding while wet to prevent creases. Store in a cool, dry place, away from direct sunlight to prevent fading. Use breathable garment bags for long‑term storage to allow air circulation and reduce mildew risk. Keep shirts separated by fabric type to avoid color transfer. For seasonal storage, place a moisture‑absorbing silica gel packet in the drawer to keep humidity low. When ready to wear, gently shake out the garment to restore shape, then air‑dry if needed before wearing again. This routine preserves fit, softness, and print integrity over time.
To keep your tees looking fresh, avoid stacking them in tight drawers. Instead, hang them on wide, padded hangers that support the shoulders and prevent creases. If hanging isn’t possible, lay them flat on a clean, dry rack and rotate them every few days to distribute wear evenly. For long‑term storage, use breathable garment bags—avoid plastic bags that trap moisture and cause mildew. Place a small silica gel packet inside the bag to absorb humidity and deter moths. Keep the storage area cool (ideally between 60–70°F) and away from direct sunlight, which can fade colors. Labeling boxes by season helps you quickly locate items without rummaging through piles. When you’re ready to wear a tee, give it a gentle shake to loosen any stiffness, then air‑dry if it feels damp. This simple routine preserves the fabric’s elasticity, keeps prints vibrant, and extends the life of every shirt. Remember to rotate your tees weekly to prevent uneven wear and keep their shape now.
Long-term Care: Maintaining Comfort and Fit
To extend lifespan, avoid over‑washing; a 3‑day interval is often sufficient for non‑soiled tees. When laundering, use a gentle cycle with cold water to protect fibers and colors. After washing, lay shirts flat on a towel to dry, preventing creases that can distort fit. For storage, use breathable garment bags or stack shirts on a shelf with a light cloth between layers to reduce static. Rotate inventory weekly so each piece gets equal exposure to light and air, preventing uneven fading. Periodically check for loose threads or minor tears; a quick stitch can save the garment. When you notice a print fading, wash the shirt inside‑out and avoid harsh detergents to preserve the ink. Finally, keep a log of wash dates and conditions; this data helps you adjust future care routines.
Track wash dates to fine‑tune your routine and improve longevity.!
Common Mistakes to Avoid
Common mistakes when washing t‑shirts can quickly erode their appearance and comfort. The most frequent error is using hot water for colored or printed garments; heat accelerates fading and can warp prints. Instead, choose cool or lukewarm settings and pair them with a gentle cycle. Another pitfall is neglecting to separate darks from lights; dyes bleed, leaving a grayish film on lighter tees. Always sort by color and, when in doubt, wash new items separately for the first cycle. Many people also ignore the value of pre‑treating visible stains. A quick dab of liquid stain remover or a mild detergent applied directly to the spot before the wash improves removal and prevents permanent marks. Overloading the machine is another common mistake; tight packing restricts water flow and prevents thorough cleaning, while also stressing the fabric. Using fabric softener on t‑shirts is discouraged because it deposits a film that dulls colors and reduces breathability. Stick to a light rinse or skip it entirely. Finally, many owners toss freshly washed tees into the dryer, which can shrink cotton and degrade the fabric’s feel. Air‑drying on a line or a rack preserves shape and keeps the shirt crisp. By avoiding these simple errors, you’ll extend the life of your wardrobe and keep each shirt looking fresh longer. Remember to read the care label on each garment; it often contains specific washing instructions that can prevent accidental damage. If you’re unsure about a particular dye or print, test a small hidden area with a damp cloth before subjecting the whole shirt to water. After washing, lay the shirt on a towel, roll remove water,dry.